


Backgammon is a game where luck sets the stage, but strategy writes the play. While you can't control the dice, you can control which checkers you move and when. This guide covers the most important strategic concepts every backgammon player should know.
Strategic Fundamentals
Before diving into specific strategies, there are a few principles every player should internalize:
Distribution is key. Spread your checkers to maximize future roll coverage.

Avoid leaving blots in dangerous positions, especially in your opponent's home board.

Make points (stack two or more checkers) to control the board and restrict your opponent's movement.

Plan ahead. Don't just react to the current roll — think about what your opponent might do next.

Manage risk. Sometimes the bold move is correct; sometimes safety wins.
Opening Moves
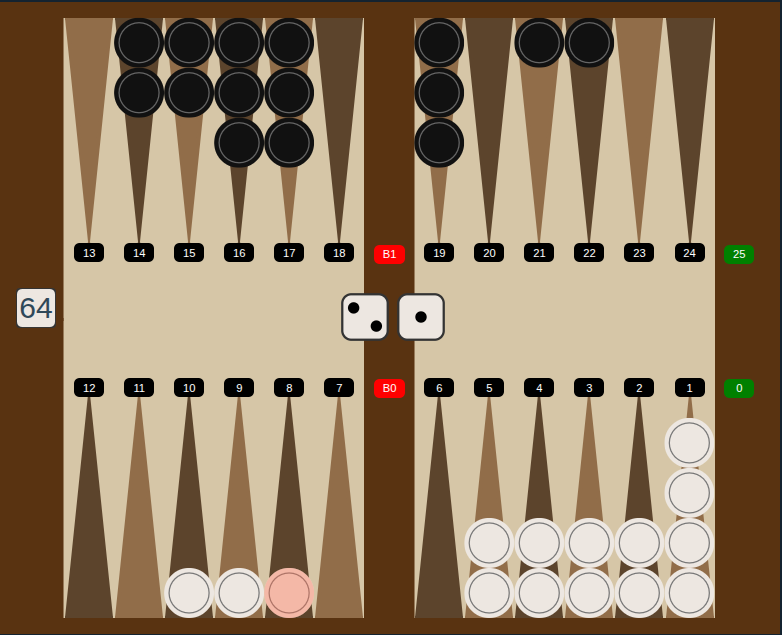
The opening roll is critical because it sets the tone for the rest of the game. There is broad consensus among experts about the best opening moves for each roll:
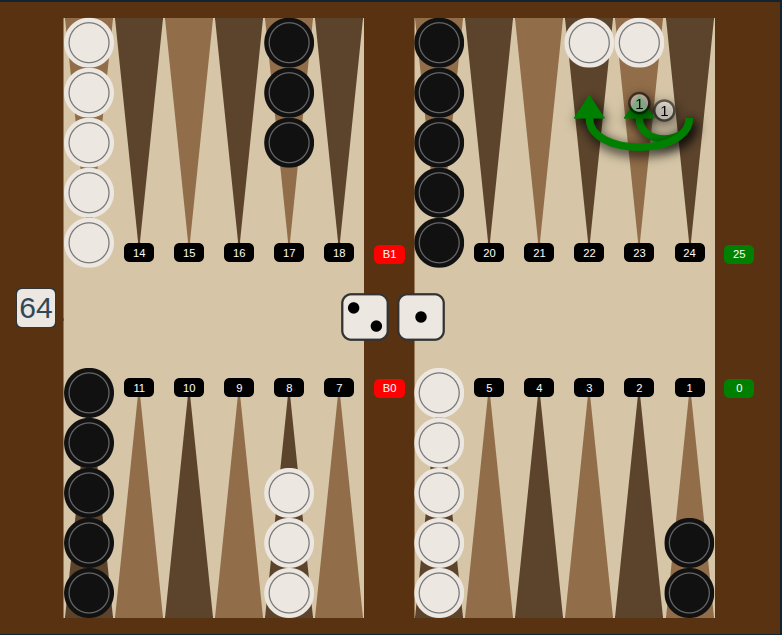
Point-making rolls are generally the strongest. Rolling 3-1 (make the 5-point) and 6-1 (make the bar point) are considered the two best opening rolls.
Roll 3-1: Make the 5-point
Roll 6-1: Make the bar point
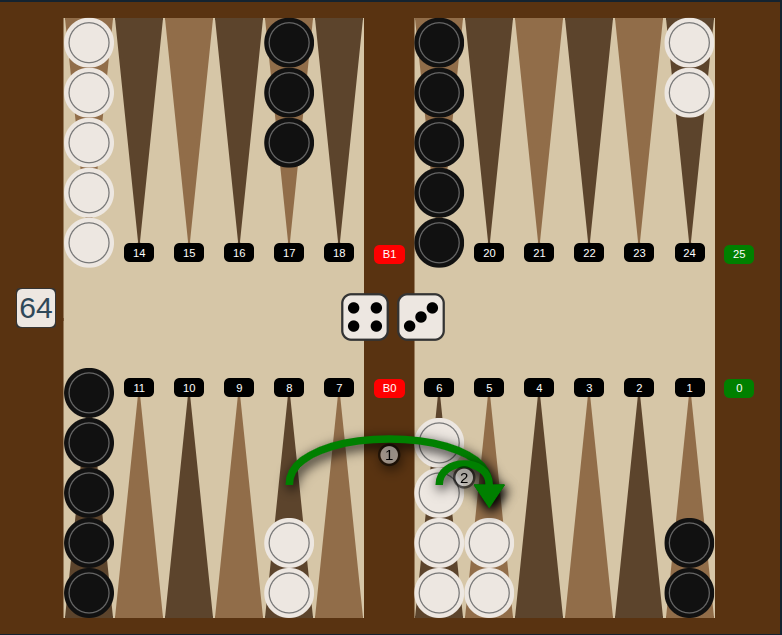
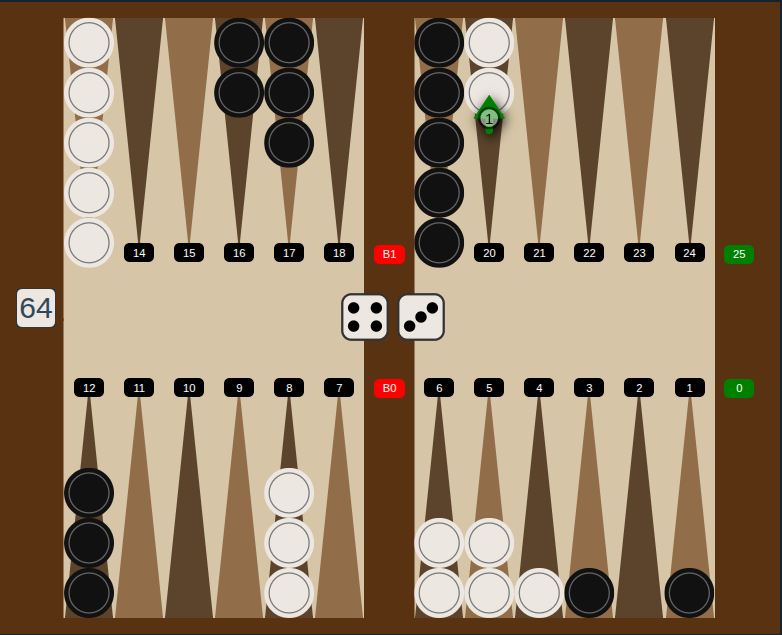
Splitting and slotting rolls (like 2-1, 4-1, 5-1) involve placing a checker on a strategically useful point, often at some risk.
Splitting example: 2-1 opening
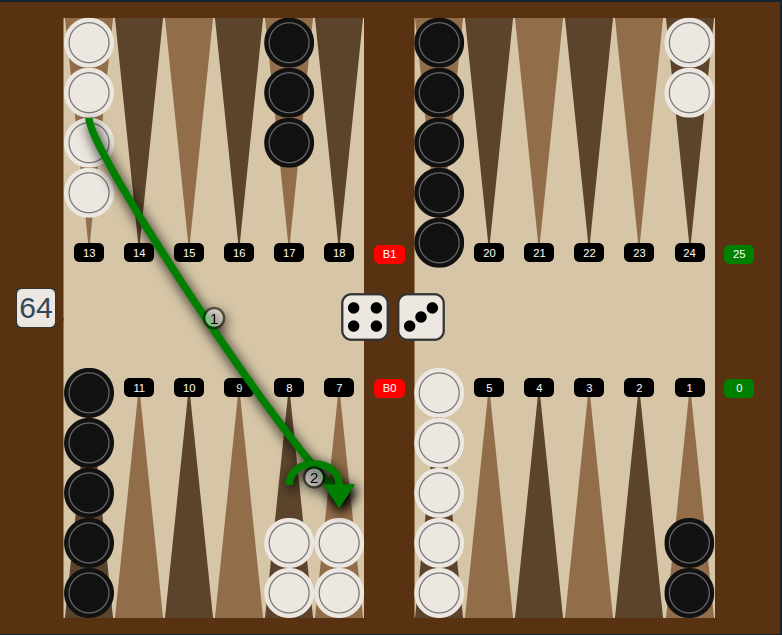
Running rolls (like 6-5) focus on advancing your back checkers quickly.
Roll 6-5: Running play
Learn the standard plays for each opening roll, and you'll immediately improve your game.
Building Primes
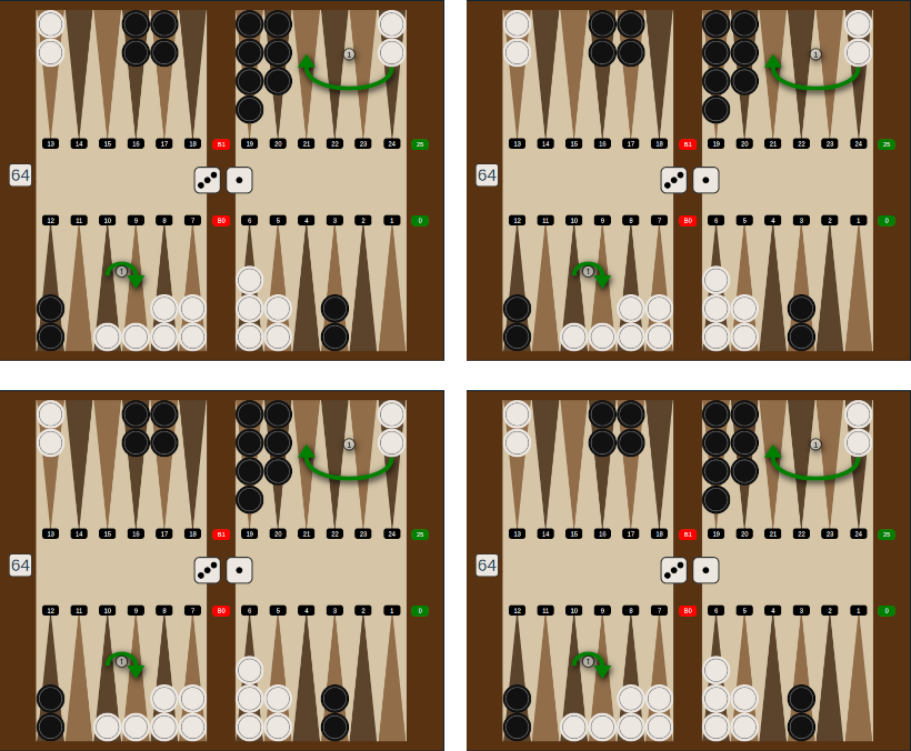
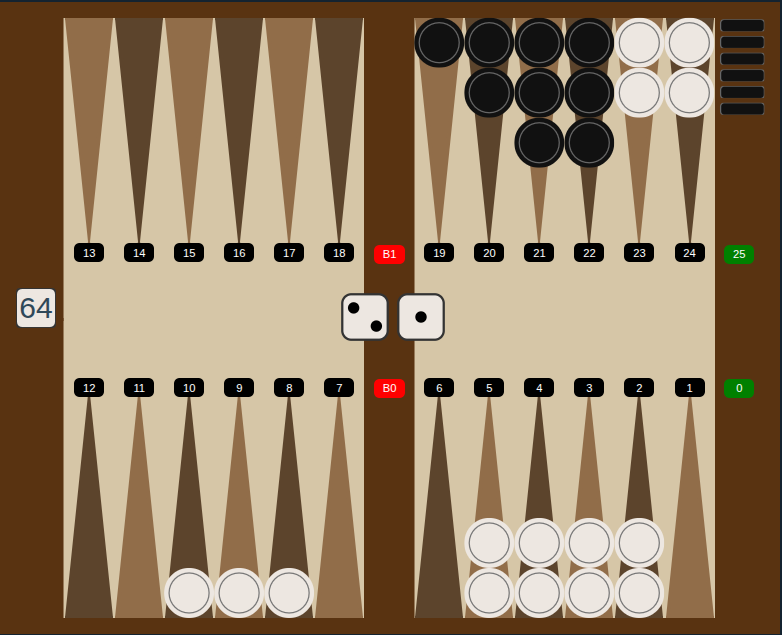
A prime is a row of consecutive blocked points (each with two or more of your checkers). A six-point prime is an impassable wall — your opponent cannot get past it.
Building a prime in front of your opponent's checkers is one of the most powerful strategies. Even a four- or five-point prime can be devastating.
When building a prime, focus on creating it in front of your opponent's back checkers. A prime behind their checkers serves little purpose.
Maintaining a prime requires careful timing. You must be able to sustain it long enough to advance your position while keeping your opponent trapped.
The Running Game
The running game is the simplest strategy: get your checkers home as fast as possible. This strategy works best when you're ahead in the pip count (total distance remaining).
If you have a significant lead in the race, avoid unnecessary contact with your opponent. Run, don't fight.
Calculate the pip count regularly to know if a running game is viable. If you're behind, you need to shift to a more tactical strategy.
The Holding Game
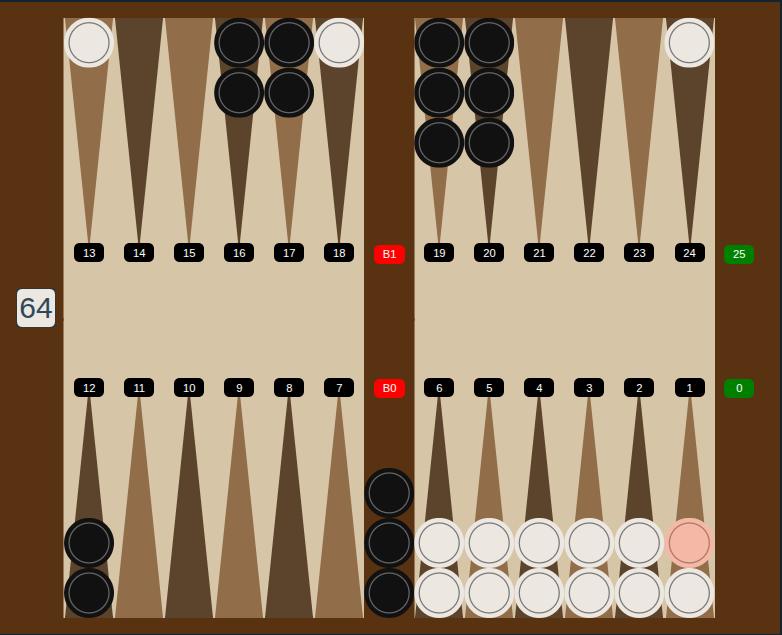
In a holding game, you maintain an anchor (a made point) deep in your opponent's home board, typically the 20-point or 21-point.
This gives you a landing spot when re-entering from the bar and a constant threat to hit your opponent as they bring checkers into their home board.
The holding game is a solid defensive strategy, especially when you're behind in the race. The key is to hold your anchor long enough to get a shot.
The Back Game
The back game is an advanced strategy where you hold two or more points in your opponent's home board, waiting for a chance to hit as they bear off.
While it sounds appealing, the back game requires precise timing. You need enough checkers in your own home board to contain your opponent after hitting.
Without proper timing, you'll hit but won't be able to hold your opponent, losing anyway. The back game is a last resort, not a first choice.
The Blitz Strategy
A blitz involves attacking your opponent's vulnerable checkers aggressively, sending them to the bar, and then closing your home board.
This strategy works best when your opponent has blots in or near your home board. Hit everything in sight and make points to lock them out.
The blitz can win games quickly but carries risk — if your attack stalls, you may be left with a weak board structure.
Anchor Strategy
An anchor is a made point in your opponent's home board. Anchors serve two vital purposes: they give you a safe re-entry point when hit, and they threaten to hit passing checkers.
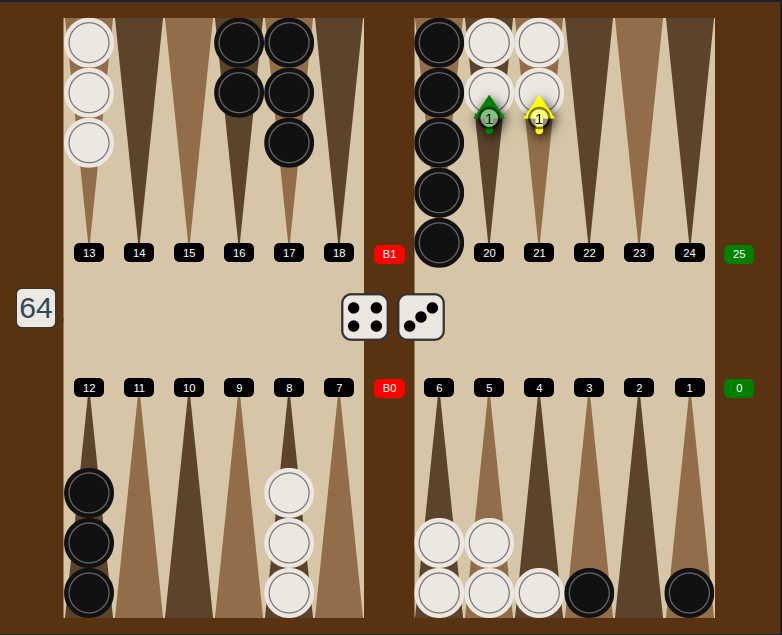
Advanced Anchors
Advanced anchors (points 4 and 5 in the opponent's home board) are the strongest because they restrict your opponent's movement more effectively.
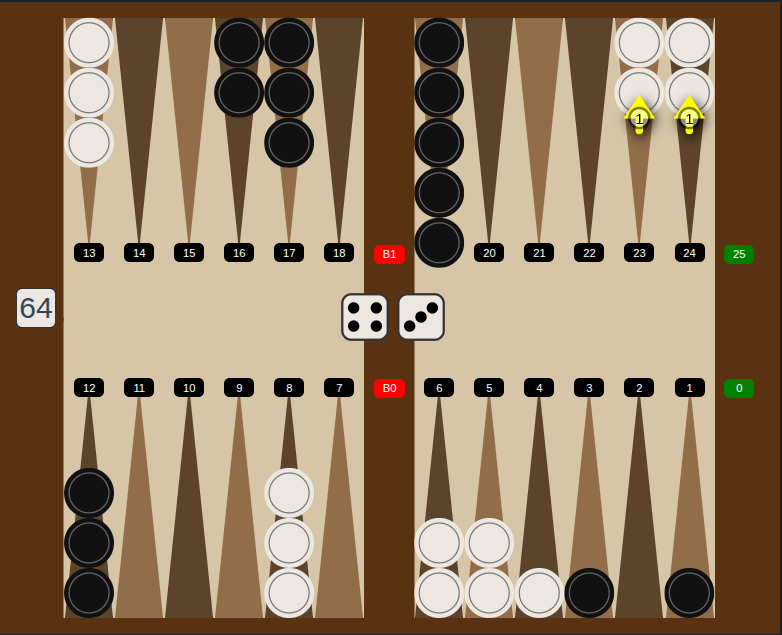
Low Anchors
Low anchors (points 1 and 2) are less valuable but still better than no anchor at all.
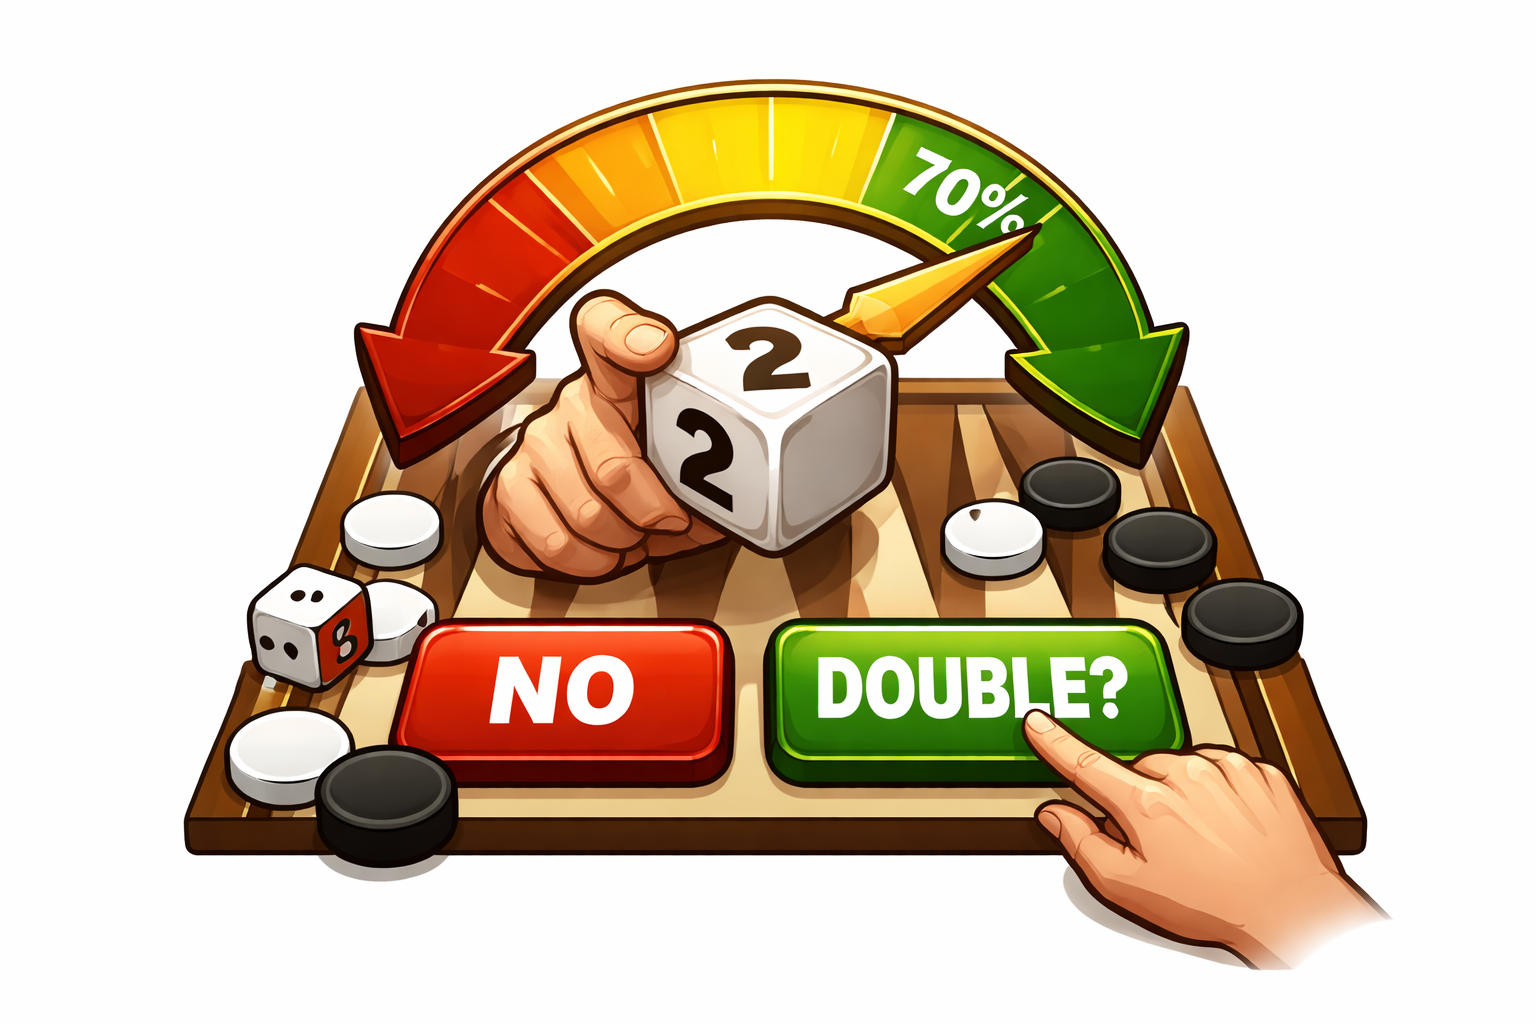
Doubling Strategy
Knowing when to double, take, or drop is one of the most profitable skills in backgammon. Here are some guidelines:
Double when you have a clear advantage, ideally when your winning probability is around 70% or more.
Take a double if you believe you have at least a 25% chance of winning (the 'take point').
Consider gammon threats when deciding. If your opponent might gammon you, the take point is higher.
In match play, the score affects doubling decisions significantly. Learn the basic match equity table.
Common Mistakes to Avoid
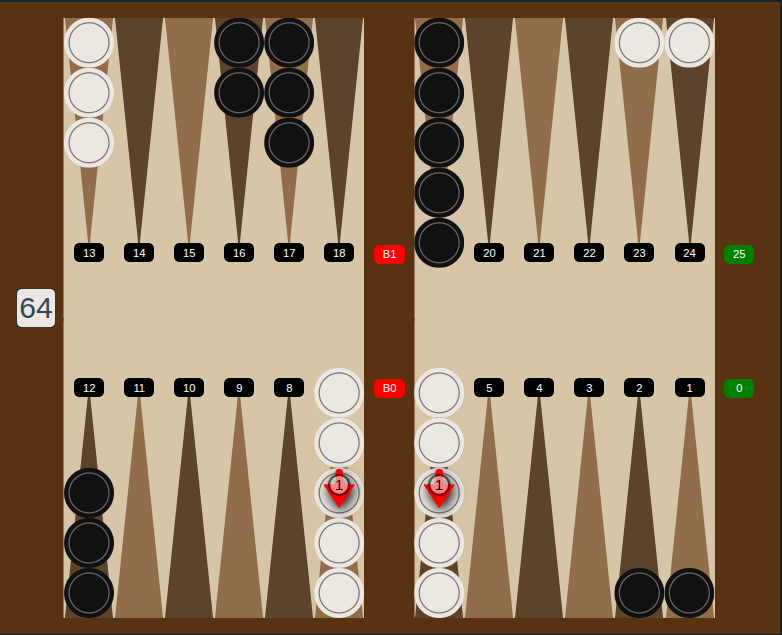
Stacking too many checkers on one point. This wastes resources and limits flexibility.
Running too early. If you're behind, contact is your friend.

Ignoring the pip count. Know whether you're winning or losing the race.
Being too passive. Sometimes you need to take risks to create winning opportunities.
Failing to make your 5-point early. The 5-point is the most valuable point in your home board.
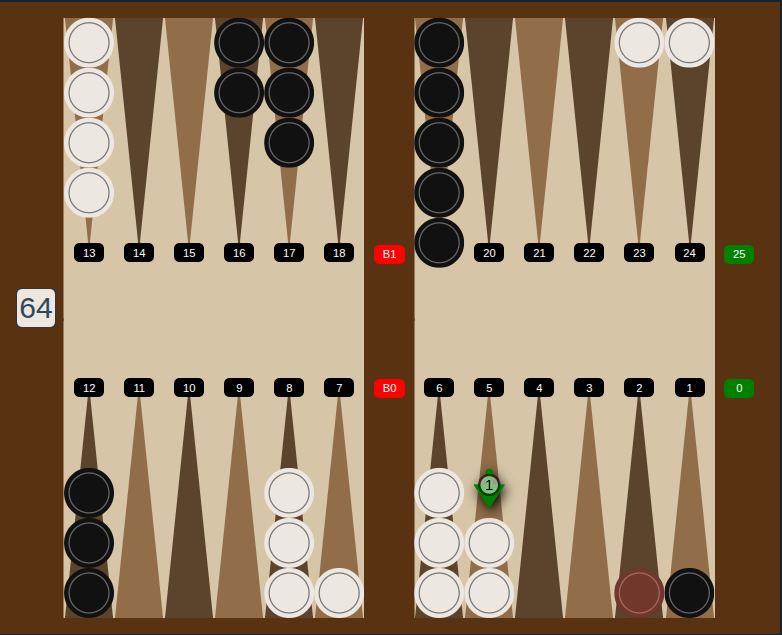
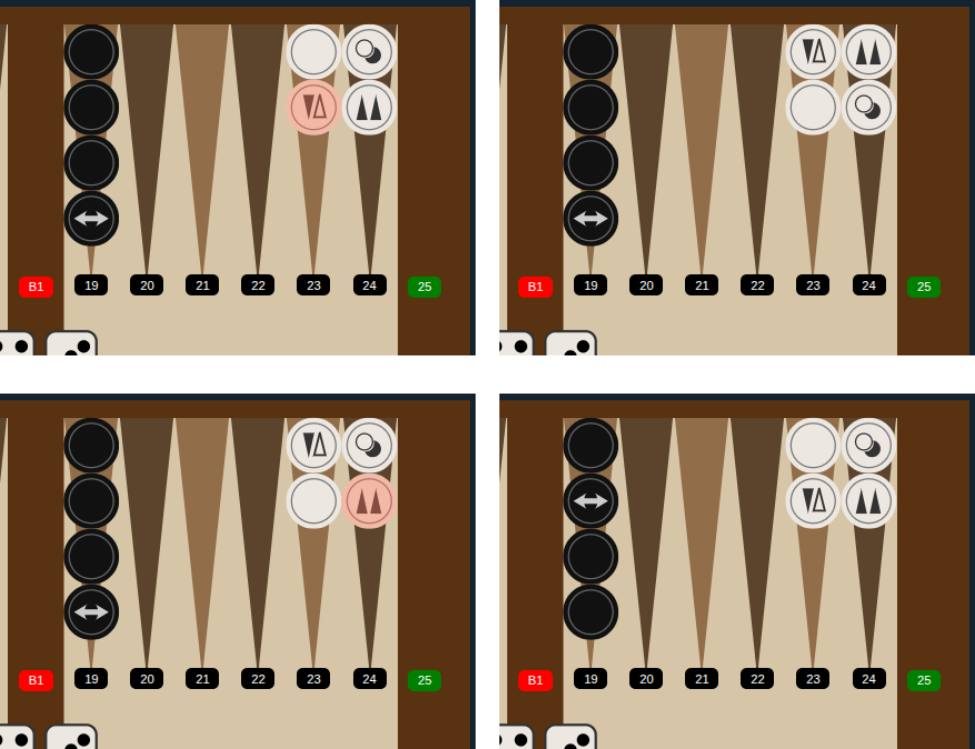
Strategy in Abak Evolution
Everything above applies to Abak Evolution, but the addition of checker classes adds entirely new strategic layers:

The General can go backward, making it a versatile tool for defense and timing. Keep it on top of your stacks for maximum flexibility.

The Druid immobilizes opponents in the outer board. Position it to lock down key enemy checkers.

Guards block alone but can be trapped by Druids. Use them wisely to control critical points.

Wounded soldiers have limited movement. Protect them and plan their route home carefully.
The Y-axis matters: the order of checkers in a stack creates new tactical dimensions unique to Abak.
Put your strategy to the test — play Abak Evolution for free!